Mewgenics Volcano Event: What to Do?
Last Updated

The Volcano is one of the most dramatic and consequential Skill Events you can encounter in Mewgenics. Found in The Jurassic (Act 3, Chapter 3), it presents your cat with a life-or-death decision at the rim of an active volcano. You can sacrifice your cat to the molten depths, place a quest item for endgame progression, or simply walk away. Each choice carries wildly different stakes, and understanding exactly what happens with each option can mean the difference between losing a prized cat forever and unlocking one of the rarest rewards in the game.
This guide covers every option, every possible outcome, the three unique Fetin disorder rewards, and the Receiver Antenna quest chain. Whether you are a cautious player wondering if the gamble is worth it or a veteran trying to farm Fetins (which are a powerful addition to your cats' gene pool), this guide has you covered.
Where to Find the Volcano Event
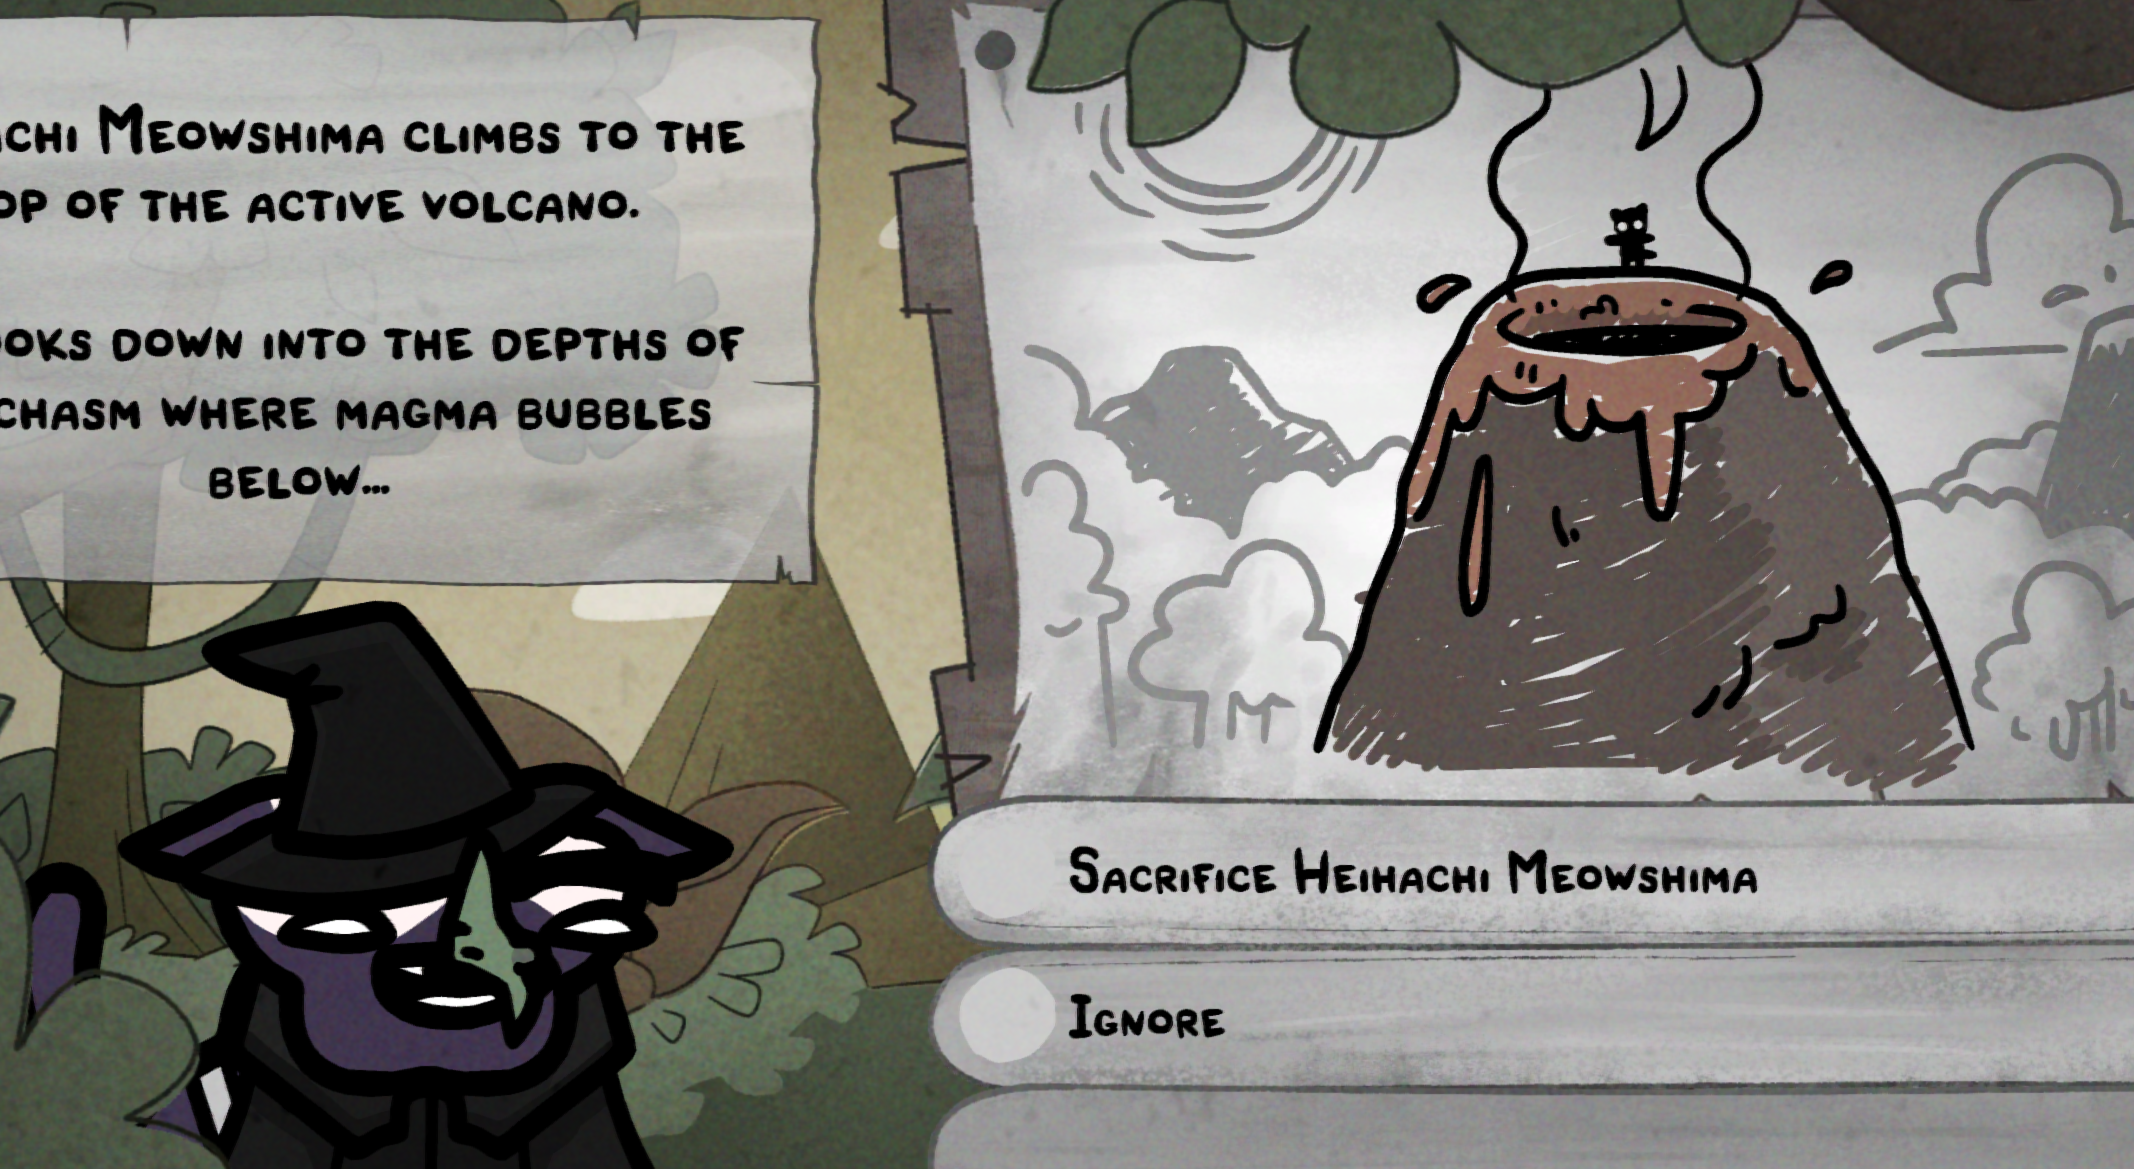
The Volcano event appears exclusively in The Jurassic, the Act 3, Chapter 3 area. You unlock The Jurassic by completing The Ice Age for the first time. Once you are exploring The Jurassic, the Volcano can appear as one of the Skill Events during your adventure. The event prompt reads: "{catname} climbs to the top of the active volcano. They look down into the depths of the chasm where magma bubbles below..."
The Jurassic itself is a prehistoric jungle filled with dinosaur enemies, tar pits, volcanic vents, and tall grass that grants +40% Dodge Chance. It is one of the later areas most players access, and the Volcano event is part of what makes it such an important chapter for progression. If you are specifically hunting for the Volcano event, know that Skill Events appear randomly during adventures, so you may need multiple Jurassic runs before encountering it.
All Choices and Outcomes
The Volcano event presents you with up to five options, though some are conditional. Here is a complete breakdown of every choice and what happens.
Option 1: Sacrifice Your Cat (No Stat Check)
This is the high-risk, high-reward option. Choosing to sacrifice your cat sends it leaping into the volcano. There are three variants of this option in the game data, all with the same core mechanic.
The common outcome (which happens most of the time): Your cat perishes in the hot depths below. The cat is permanently killed and all equipped items are lost with it. This is not a temporary death or a knockdown. The cat is gone. If it was wearing rare gear, that gear is gone too. The game does not give you a confirmation prompt, so be absolutely certain before selecting this option.
The rare outcome (critical success): Your cat miraculously survives the volcanic plunge and is rewarded with one of three unique Fetin disorders. The critical success chance is influenced by Luck, following the formula: 0.1 * luck_advantage + 0.25 * minmax_bonus, where the critical roll must fall below 0.15 to succeed. Higher Luck improves your odds, but even with favorable Luck this remains a low-probability event. The game also increments a global "Volcano Sacrifices" counter that tracks how many cats you have sacrificed across all runs.
The bottom line: only sacrifice cats you are genuinely willing to lose permanently. Strip any valuable equipment first. The Fetin rewards are powerful but the odds of getting one are low, and the penalty for failure is total loss.
Option 2: Place Antenna (QUEST Stat Check)
This option appears when you are carrying the Receiver Antenna, a quest head armor item dropped by the C-800 boss. The Receiver Antenna is a unique piece of equipment that grants +8 Shield, gives +2 Charge status whenever an ally spends mana, and turns all events into weather events while equipped. Its true purpose, however, is to be placed atop the Volcano as part of the Act 3 quest chain.
On success: "Your Cat places the antenna atop the volcano. The time signal is complete! The future and the past now meet up!" This completes the Receiver Antenna quest, removes the antenna from your inventory, and progresses one of the unlock conditions for The Infinite, the secret endgame area. This is a critical step for players pursuing the true ending.
On failure: "Your cat leaps into the volcano! The party hears distant screams as your cat perishes in the depths far below." The cat dies, just like the sacrifice option. This makes the QUEST stat check critically important. Bring your highest-QUEST cat for this option. Failing means losing both the cat and your progress on the antenna quest until you can obtain another Receiver Antenna from C-800.
Option 3: Ignore (No Stat Check)
"Your Cat ignores the volcano and climbs back down." No rewards, no consequences. This is the safe option for players who do not want to risk anything. There is no penalty for walking away, and the Volcano event can appear again on future Jurassic runs. If you are not prepared to sacrifice a cat or do not have the Receiver Antenna, this is always a valid choice.
The Fetin Disorders: Your Rare Rewards
If your cat survives the sacrifice (critical success), it receives one of three Fetin disorders at random. Fetin disorders are classified as Special Disorders, meaning they are completely excluded from all standard disorder pools. You cannot get them through normal gameplay, breeding disorder rolls, birth defects, or the Organ Grinder. The Volcano sacrifice is the only source. Each Fetin shares the same downside but has a unique and powerful upside.
The Shared Downside: AI Control
All three Fetins impose a 10% chance each turn for your cat to be AI-controlled instead of player-controlled. When the AI takes over, your cat acts on its own for that turn, choosing movement, attacks, and ability usage based on the game's internal AI logic. The AI tends to prioritize nearby enemies with basic attacks and generally makes passable but not optimal decisions.
There are specific AI behaviors to be aware of. The AI disregards on-contact effects like Thorns, Bleed Thorns, and Poisonous, meaning it will walk into or attack enemies with these effects without hesitation. It ignores Counter Attack and Backflip status effects on targets, potentially triggering dangerous counterattacks. It also treats downed cats and familiars as neutral obstacles and may attack them to advance toward enemies. In boss fights or precision encounters, a single AI-controlled turn can be costly.
The crucial detail: the 10% base chance scales with Luck. At 5 Luck (neutral), it is exactly 10%. Each additional point of Luck reduces the chance by roughly 0.9%. At 15 Luck, the AI control chance drops to just 1%, making it almost nonexistent. Conversely, negative Luck dramatically increases the risk: -7 Luck pushes it to about 20%, -19 Luck to 30%, and at -73 Luck it balloons to over 60%. This means that any cat receiving a Fetin should ideally be built with some Luck investment to keep the downside under control. The Collarless ability Stack the Deck, which grants +1 Luck per battle, pairs well with Fetin cats for this reason.
Orange Fetin: Mana and Healing on Kill
Orange Fetin's upside: "When you kill an enemy, gain 3 mana and heal 2 HP." This turns your cat into a self-sustaining combat engine. Every enemy the cat personally finishes off refunds 3 mana and restores 2 HP, fueling continued ability usage and passive healing without relying on teammates or consumables.
Orange Fetin is strongest on aggressive damage-dealers who secure kills frequently. AoE nukers that wipe out groups of smaller enemies in a single turn can trigger the on-kill effect multiple times, generating massive mana and healing spikes. It excels in fights against large groups of enemies (raptors, dino eggs, swarm encounters) where kills come fast and often. Against single-target boss encounters where kills are rare, the benefit is minimal. Pair Orange Fetin with cats that have high damage output and kill-securing abilities rather than support cats that deal chip damage.
Black Fetin: Full Mana Restore on Ally Down
Black Fetin's upside: "When an ally cat is downed, restore all your mana." This is arguably the most powerful of the three Fetins because its trigger can be controlled. Normally, the full mana restore activates when a teammate falls in battle, giving you an emergency burst of resources at the worst possible moment. But the real power comes from combining Black Fetin with abilities that intentionally down allies.
Three abilities synergize directly with Black Fetin: Flatline, Play Dead (Collarless), and Seppuku (Necromancer). All three allow controlled ally downing, meaning you can trigger Black Fetin's full mana restore on demand in every single fight. In Necromancer or Collarless team compositions, a Black Fetin cat effectively has unlimited mana as long as allies can cycle through downed states. This enables explosive ability rotations with expensive, high-impact spells that would normally be unsustainable. If you get Black Fetin on a cat with access to these abilities, you have struck gold.
Even without deliberate downing synergies, Black Fetin still provides a powerful comeback mechanic. Losing an ally in a tough fight is already bad, but gaining a full mana bar in response means you can immediately fire off your strongest ability to stabilize the situation. It turns a disaster into an opportunity.
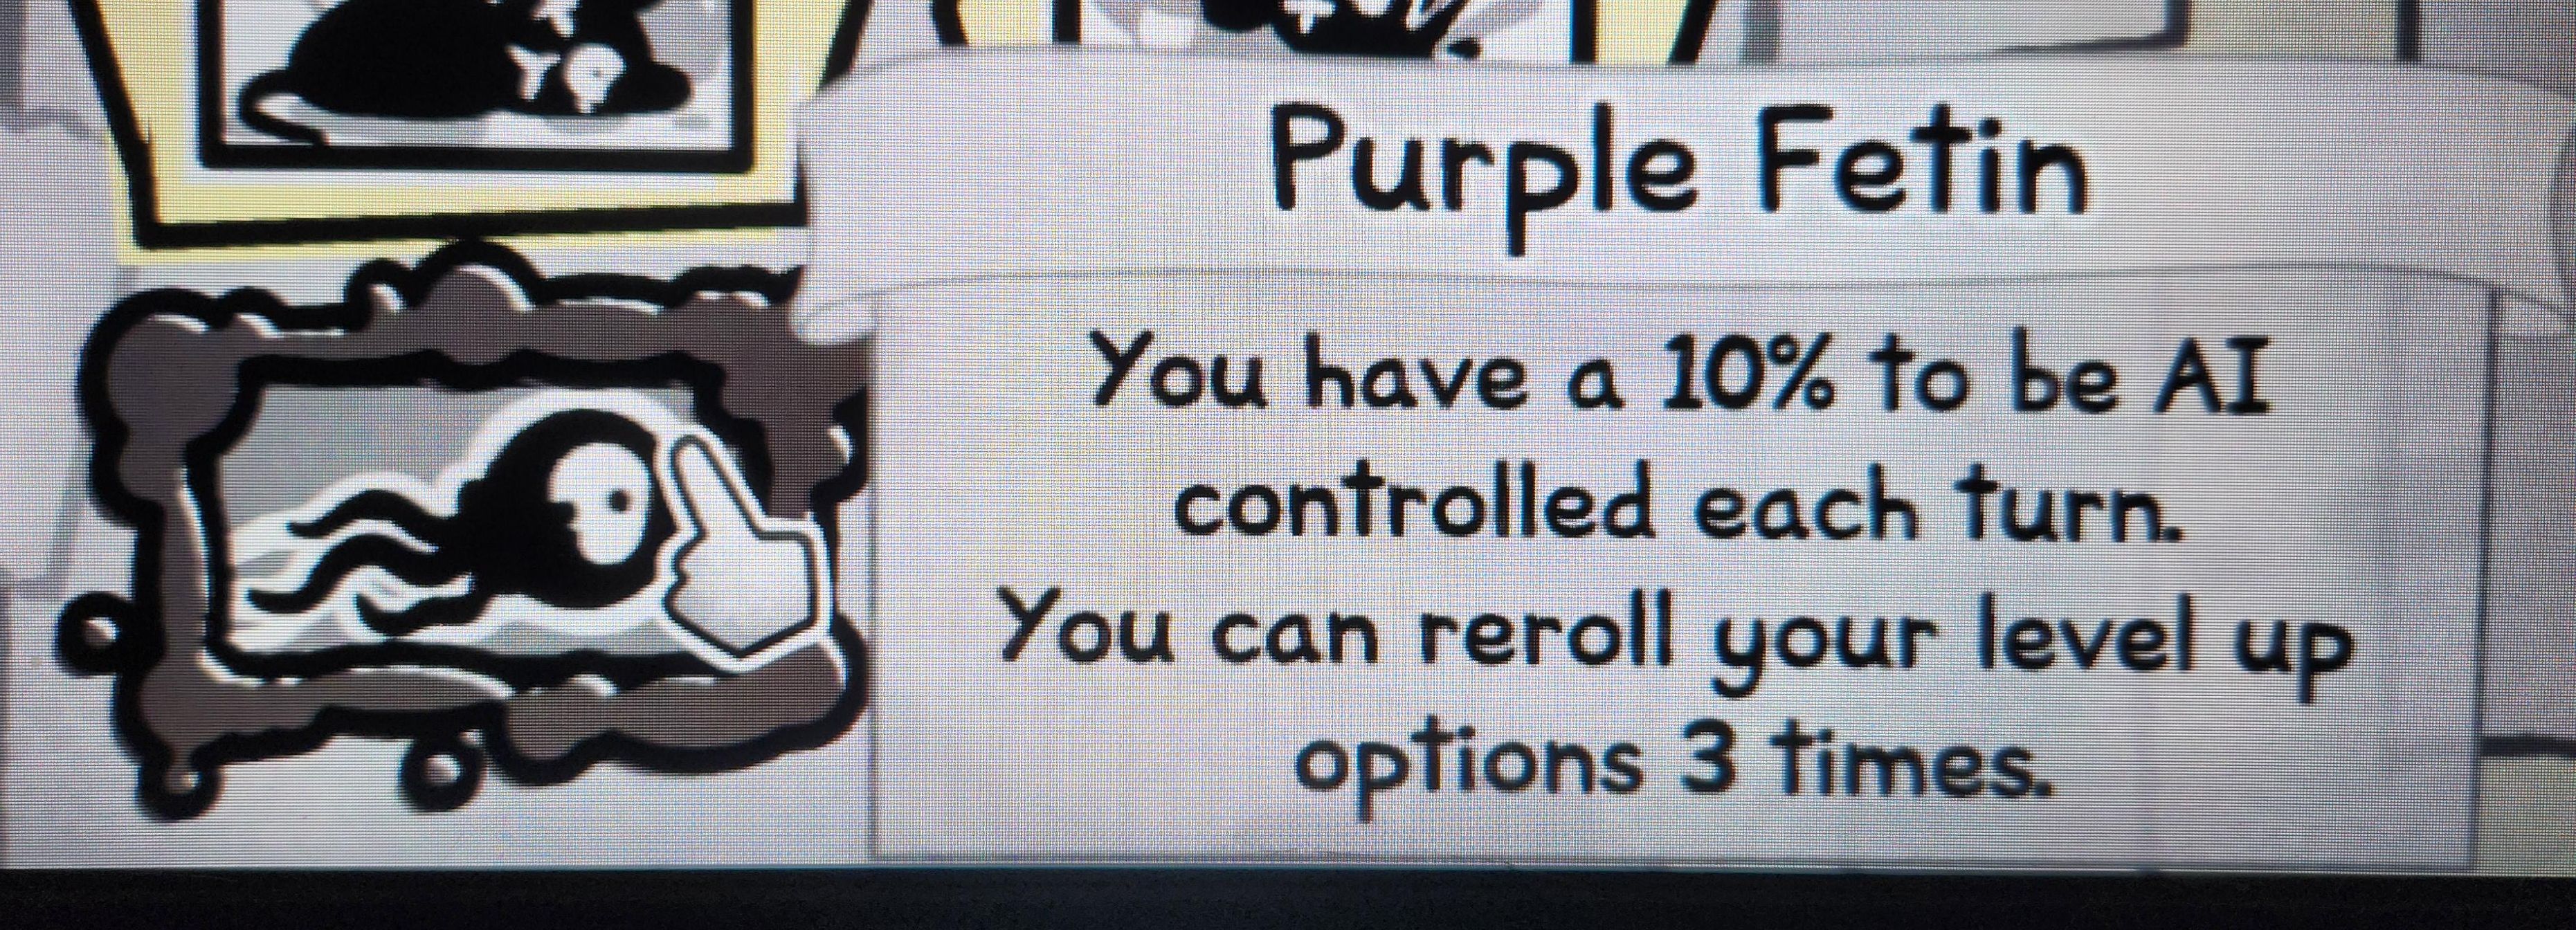
Purple Fetin: Extra Level-Up Rerolls
Purple Fetin's upside: "You can reroll your level up options 3 times." Every time the afflicted cat levels up, you get 3 additional rerolls on the ability and upgrade selection screen. This dramatically increases your chances of finding the exact ability, upgrade, or synergy piece you need for your build.
Purple Fetin's value is heavily frontloaded. In the early-to-mid game, when your build is still being assembled and landing a specific ability is the difference between a strong run and a weak one, those extra rerolls are transformative. In the late game, once a cat already has its core abilities locked in, the rerolls matter less. This makes Purple Fetin ideal for cats where a specific ability combo is make-or-break. Of the three Fetins, Purple is the most universally useful since every cat levels up, but it provides the least ongoing combat benefit compared to Orange Fetin's sustain or Black Fetin's mana restoration.
The Receiver Antenna Quest
The "Place Antenna" option is part of a multi-step quest chain that progresses toward unlocking The Infinite, the secret endgame area. The quest flow works like this:
First, you need to obtain the Receiver Antenna by defeating the C-800 boss. The Receiver Antenna is a quest head armor piece with +8 Shield that also grants +2 Charge status whenever an ally spends mana, and it turns all events into weather events while equipped. It is both a functional piece of equipment and a quest key item.
Next, you need to carry the Receiver Antenna into The Jurassic and encounter the Volcano event. When the event triggers, the "Place Antenna" option becomes available. This option requires a QUEST stat check. On success, the antenna is placed atop the volcano, completing the time signal and advancing the unlock conditions for The Infinite. On failure, the cat dies in the volcano, and you lose both the cat and the antenna. You would need to defeat C-800 again to get another Receiver Antenna.
Because failure is so punishing, always send your highest-QUEST cat for this option. If none of your current cats have strong QUEST stats, it may be worth breeding or training one specifically for this purpose before attempting the antenna placement.
Strategy Guide: What Should You Do?
Your decision at the Volcano depends on your current situation and goals. Here is a decision framework.
If You Have the Receiver Antenna
Place the antenna. This is your primary goal. The Infinite unlock is one of the most important long-term progression milestones in Mewgenics, and this is a required step. Make sure to assign your highest-QUEST cat to minimize the risk of failure. If your best QUEST cat only has mediocre stats, weigh the risk: losing the cat and antenna means re-farming C-800, which could take multiple runs. Sometimes it is better to ignore the event, grind QUEST on a cat, and come back later with better odds.
If You Want to Gamble for a Fetin
The sacrifice gamble is only worth it under specific conditions. First, use a cat you are genuinely willing to lose. Never sacrifice your best cat. Second, strip all valuable equipment from the cat before selecting the option, because all equipped items are destroyed along with the cat on failure. Third, higher Luck improves the critical success chance, so a high-Luck cat has better odds of surviving. Fourth, understand that even with good Luck, the odds are still against you. Most sacrifice attempts end in permanent death.
Good candidates for sacrifice are: cats with high Luck but otherwise mediocre stats; cats that have served their purpose and you would not mind losing; cats specifically bred as disposable Fetin farmers. Bad candidates: your main damage dealer, cats wearing rare or irreplaceable gear (even if you think you remembered to strip them, double check), or any cat tied to an active quest or breeding program.
If You Are Not Prepared
Just choose Ignore. There is zero downside to walking away. The Volcano event will appear again on future Jurassic runs. Never feel pressured to sacrifice or place the antenna if you are not ready. The safe play is always available and always costs nothing.
Which Fetin Is Best?
You do not get to choose which Fetin your cat receives; it is assigned randomly on critical success. That said, understanding their relative power helps you evaluate the outcome and plan around whichever Fetin you get.
Black Fetin is generally considered the strongest due to its controllable trigger. With Flatline, Play Dead, or Seppuku in your team composition, you get on-demand full mana restores that enable otherwise impossible ability rotations. It is the only Fetin whose upside scales with team composition and player skill rather than passive combat events.
Orange Fetin is the most straightforward and reliable in standard combat. If the cat kills enemies, it generates mana and healing passively. It requires no team synergy to function and provides consistent value in every multi-enemy fight. It is the best "no setup required" Fetin.
Purple Fetin is the most universally applicable but weakest in combat. Extra level-up rerolls benefit every cat, but the advantage is temporary and diminishes as the cat reaches its full build. It does not help you win fights directly, unlike the other two. Still, if you get Purple Fetin early in a run, those rerolls can shape the entire build trajectory in your favor.
Managing the AI Control Downside
The single most important thing you can do to mitigate the Fetin downside is invest in Luck. The AI control chance is 10% at neutral (5 Luck) but drops to 1% at 15 Luck. That is a 90% reduction in the downside from just 10 points of Luck. Stack the Deck (Collarless ability, +1 Luck per cast per battle) is a natural fit. Luck-boosting items, level-up stat allocations, and mutations that increase Luck all help.
Beyond Luck investment, you can also minimize AI control impact through build design. Simple, straightforward loadouts suffer less when the AI takes over because there are fewer ways for the AI to misuse the kit. A melee brawler with basic attack abilities will still hit nearby enemies effectively under AI control. A complex support cat with precise buff timing and positioning requirements will not. If you know a cat has a Fetin, lean toward simpler, more robust ability selections.
Finally, be aware of the specific AI quirks. Keep your Fetin cat away from enemies with Thorns or Counter Attack during turns where AI control is likely. Avoid leaving downed allies adjacent to the Fetin cat, as the AI may attack them. Position the cat so that even a "bad" AI turn results in acceptable actions, like attacking a nearby enemy rather than running into a dangerous position.
Luck Scaling Reference Table
Here is how the AI control chance scales with your cat's Luck stat, from worst case to best case:
-73 Luck: 60.4% AI control | -51 Luck: 50.0% | -34 Luck: 40.3% | -19 Luck: 30.0% | -7 Luck: 20.6% | 3 Luck: 11.8% | 4 Luck: 10.9% | 5 Luck: 10.0% (baseline) | 6 Luck: 9.1% | 7 Luck: 8.2% | 8 Luck: 7.3% | 15 Luck: 1.0% (minimum)
The takeaway: 15 Luck is the magic number. At that point, AI control happens roughly once every 100 turns, which most players will never notice. Anything below 5 Luck and the downside starts becoming a real problem.
Trivia
The Fetin disorders are almost certainly a reference to "thetans" from Scientology, the concept of disembodied souls or spiritual entities that attach to living beings and influence their behavior. In Scientology cosmology, the alien tyrant Xenu froze billions of beings, dropped them into Earth's volcanoes, and detonated nuclear weapons, releasing disembodied thetans that then attached to the surviving population. The Volcano acquisition method in Mewgenics directly mirrors this origin story. The South Park episode "Trapped in the Closet" (Season 9, Episode 12) famously depicted this story, and the connection between volcanoes and spiritual parasites in Mewgenics is a clear nod to both the source material and its pop culture parody.
The game tracks a global "Volcano Sacrifices" counter across all your runs, though it is currently unclear whether this counter unlocks any additional content or achievements. It may simply be a statistical tracker, or it may be a hidden unlock condition that has not yet been discovered by the community.
The three Fetin color variants (Orange, Black, Purple) each represent a different type of benefit, and all are heritable through breeding. A cat with a Fetin disorder can pass it to offspring, though the inheritance is not guaranteed. This means that a single successful Volcano sacrifice can seed Fetin disorders across your entire cattery over multiple generations, spreading the benefit (and the AI control risk) through your breeding program.